


Want to learn to code and be ready to get a real software developer job in just 12 weeks? Check out Makers Academy here.
Sometimes, working in the cloud is better. Your workspace is in the same state no matter what machine you choose to access it from. As of 2019, AWS Cloud9 is one of the best. Want to know how to get the world’s best free* (*free tier available) cloud integrated development environment (IDE) set up so you can start writing code anywhere? Read on…
Amazon is a world leader in cloud computing services through their subsidiary, Amazon Web Services, or AWS. Who uses AWS? Only the likes of Airbnb, Uber, and Netflix. Indeed, until recently the cloud infrastructure market was basically AWS, then everybody else.
Why is AWS so dominant? It could be because they offer so many services it’s hard to keep track of all of them. A few of the main ones are pictured below.

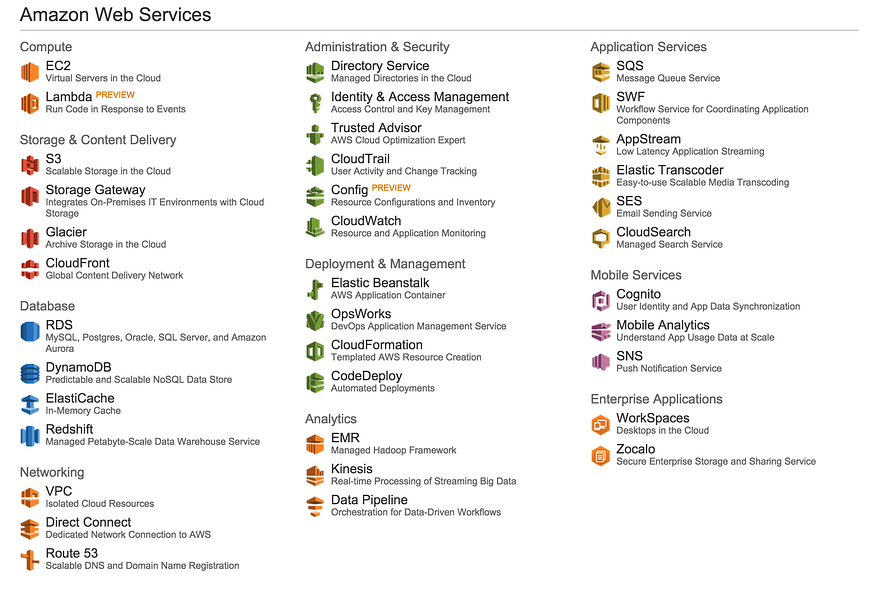
Fortunately for us developers, you don’t need to understand how all the various services work in order to get your free cloud IDE! But it’s good to know what to expect, if only because the AWS user interface leaves a lot to be desired in terms of user-friendliness.
Here’s a quick overview of how to set up a Cloud9 developer environment.
- Navigate to https://aws.amazon.com/cloud9/
- Click on ‘Get started with AWS Cloud9’
- Start to create a personal AWS account if you do not already have one. This will require phone confirmation and details of a payment card. However, you do not need to pay for the use of Cloud9 services as it has a free tier. You might be using other AWS services during the course so it’s a good idea to get it set up now! Make sure to select a basic AWS plan. If you are ever unsure about your AWS Free Tier usage, you can check your current running services at the Billing page here: https://console.aws.amazon.com/billing/
- You should now have an AWS account! You might have been redirected to the AWS console, if so, navigate back to the Cloud9 start page (https://aws.amazon.com/cloud9/).
- Create an environment. You can name the environment whatever you want!
- Select the ‘EC2’ environment type. This means that Amazon will run a computer in the cloud for you to use.
- * IMPORTANT * Choose the free tier eligible option! This should be the first option in the list (e.g. t2.micro) but be sure to check.
- Select default cost-saving settings.
- Click through to complete the setup process. Wait for your Cloud9 environment to be created, which can take a few minutes.
- You should now have a working developer environment!
That’s it. If you survived the AWS user interface and got your IDE set up, you’ve taken a great first step towards becoming a better developer.
Want more of this stuff? You can follow me on Twitter at @hnryjmes.