


MAKEUP FOR BEGINNERS (Very Detailed!) | Maya Galore
Have you ever found yourself shopping for new beauty products and feeling totally confused over why there were so many options? Do you really need to contour and apply bronzer? What’s the difference between an eyebrow pencil and eyebrow gel? After a while, the items in your shopping cart can start to seem redundant. The good news? You’re not alone. Whether you’ve never created a contoured beauty look or you love trying all the latest trends, we’ve got you covered.
Buckle up, because we’re about to school you with our crash course in makeup for beginners. Find out how to master your makeup technique and read on for tips and tricks to help you achieve a flawless finish, all with pointers from a red carpet pro.
First Things First: What Are All These Products?
Whether you’ve totally mastered your everyday makeup look or you’re just a beginner, we can all use a refresher when it comes to what’s in our cosmetic case. Brush up on your makeup basics with our comprehensive guide below.
Complexion Product Basics
Primer: Primers come in gels, creams, and even sprays. They create an even canvas for your makeup application by filling in fine lines and large pores. The result? Your makeup glides on evenly, lasts longer, and doesn’t look cakey. Be sure to check out our guide to primer for more pointers on picking a primer that’s right for your skin tone.
Foundation: Foundation evens out your complexion, smooths over imperfections, and comes in three forms: liquid, cream, or powder. While there are a variety of types available, the most important thing to consider is the coverage level you’re hoping to achieve. If you want to take a more natural approach, opt for lighter coverage. It creates a thin veil and smooths over your complexion. If you have freckles, for example, you’ll still be able to see them with a light coverage foundation on your face. If you want a more airbrushed look, a heavier, full-coverage foundation is your best bet. These types of foundations are thicker in consistency and can cover up blemishes, hyperpigmentation, and even acne scars. Unsure which formula is right for you? Check out our breakdown of powder and liquid foundation.
Concealer: Concealer is meant to add an extra layer of coverage over dark spots, pimples, scars, or wherever you want more coverage. Depending on the look you want to achieve, you can opt for a concealer with either a matte or dewy finish. Just like foundation, concealers offer a varying level of coverage. While some are strictly meant to conceal, others can help brighten and are often used in conjunction with highlighter. You can check out our guide on how to apply concealer here.
Highlighter and Contour: Want to know the secret behind the perfectly chiseled face we so often see on celebs and influencers? These two magical makeup products that can completely transform your complexion. While contour creates shadows and adds dimension to your face, highlighter enhances the high points of your face. “Contour colors always recede, meaning they will add depth, where light and highlighter brings that light forward,” says Robert Sesnek, celebrity makeup artist for CATRICE—Chances are you’ve seen his handy work on the faces of Hailey Bieber and Kendall Jenner. Both highlighter and contour come in liquid, powder, and cream formulas. We broke down how to apply highlighter and how to apply contour to help you perfect your technique.
Blush and Bronzer: While some may think bronzer seems interchangeable with contour, they actually serve two totally different purposes. While contour is used to create shadows, bronzer creates a natural, sun-kissed glow that accentuates and lifts your cheekbones and other features. Bronzers come in liquids, creams, and powders. Brush up on our tips for how to apply bronzer here. Blush is used to add a flushed color to your cheeks and comes in liquid, powder, and cream formulas. For a quick and easy application, a powder should be your go-to. For more info, check out our guide on how to apply blush.
Setting or Finishing Powder: In order to get the most mileage from your makeup and have your glam face last all day, you should set it. While setting powder sets your makeup and locks it in place, finishing powder smooths fine lines and blurs pores, creating an airbrushed finish. While some think you can opt out of using a setting powder if you want a more dewey glow, it should always be a non-negotiable step in your makeup routine. “It’s a step I never skip, even if the client wants a glowing look,” says Sesnek. Just powder select areas (like your T-zone and under your eyes) and leave others dewy (like your cheeks). If you’re unsure which powder is right for you, check out this refresher on setting vs. finishing powder.
Eye Product Basics:
Eyeshadow Primer: Eyeshadow primer is just like a face primer, however it’s made up of a formula that specifically targets the skin above the eye. Your standard primer won’t be able to do the trick. While most primers for your complexion contain silicone or water, eyeshadow primers offer up more of a grip and aren’t as smooth. This allows your eye makeup to stay in place all day. If you’re unsure where to start, check out some of our favorite eyeshadow primers right here.
Eyeshadow: Eyeshadow is powder applied to your eyelids to accentuate your eyes. The colored powder comes in a variety of formulas and shades, ranging from matte to shimmering. They also contain varying levels of pigmentation. Check out our comprehensive guide to applying eyeshadow here.
Eyeliner: Eyeliner is used to define the eyes, enhance their shape, and create different looks. When it comes to eyeliner, you can opt for a gel, liquid, or pencil. If you’re unsure which one is right for you, turn to our guide on which eyeliner you should use. “Pencils are usually the easiest to use and have the most wiggle room to blend since they are mostly creamy,” says Sesnek.
Mascara: Mascara is used to define and enhance eyelashes. Depending on the formula, you can make your lashes look fuller, thicker, longer, or darker. With so many options available it can be tricky deciding which to use, so check out our guide on all of the different types of mascara.
Eyebrow Basics:
Eyebrow Gel: Eyebrow gel keeps unruly brows in place.The formula is usually either clear or tinted, and you can check out a few of our favorite brow gels here.
Eyebrow Pencil: An eyebrow pencil is used to draw in hairs and allows you to achieve the most natural-looking approach. Not only does a fine tip create strokes that resemble real hair, but “the wax texture mimics real brow hairs,” says Sesnek. Check out our favorites here.
Eyebrow Powder: Powder is perfect for filling in sparse spots and is a great go-to for beginners--in fact, if you don’t have a powder on hand, you can use an eyeshadow to achieve the same effect. Just be sure to select a shade most similar to your eyebrow color. “Brow powder is what most people find the easiest to use,” says Sesnek.
Lip Basics:
Lip Primer: Much like a facial primer or an eyeshadow primer, a lip primer is used to keep your lip products in place. Although it isn’t a crucial part of a makeup routine like a regular primer, it can help your pout stay put.
Lip Pencil: Lip pencils enhance the shape of your lips and are used as an outline to set parameters before you apply lipstick. This step also prevents your lipstick from bleeding. If you want to create a fuller pout, you can use your lip liner to contour your mouth and gently over-line.
Lipstick: Lipstick adds color and coating to the lips, further enhancing the mouth. It’s available in a variety of forms, from liquid lipstick to matte lipstick, and it comes in every shade under the sun. Two of the most popular color categories include red lipstick and nude lipstick.
Lip Gloss: Lip gloss creates a glossy finish and comes in a variety of shades, from completely translucent to highly pigmented. Check out our faves here.
8 Steps to Applying Your Makeup
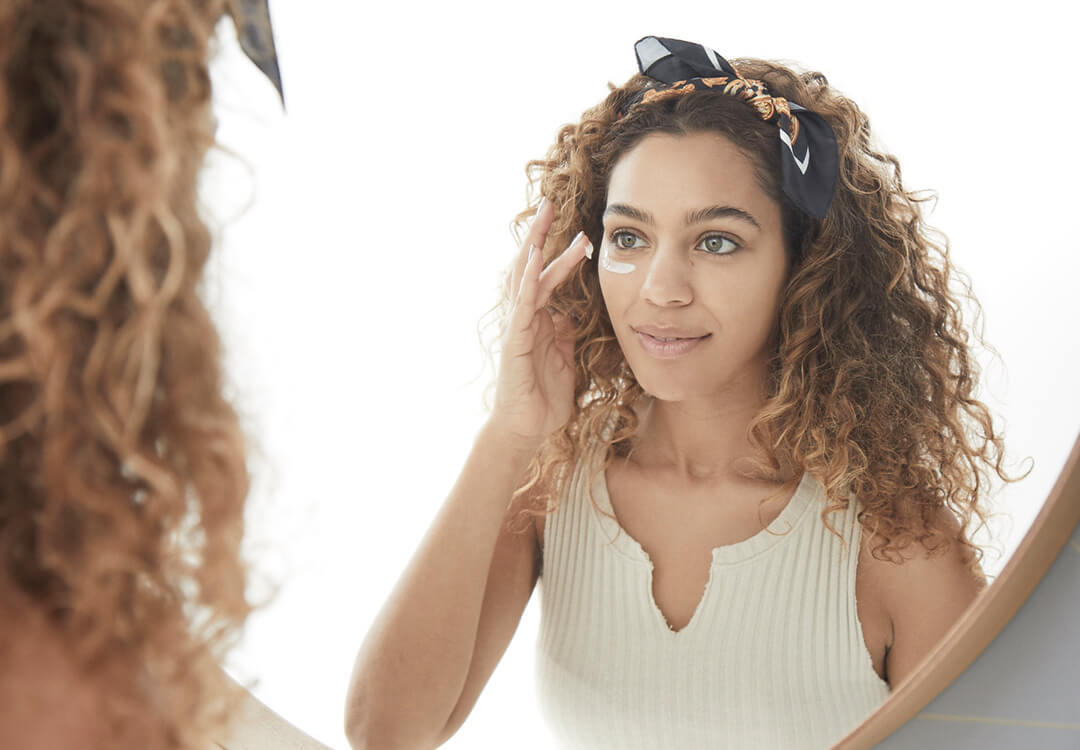
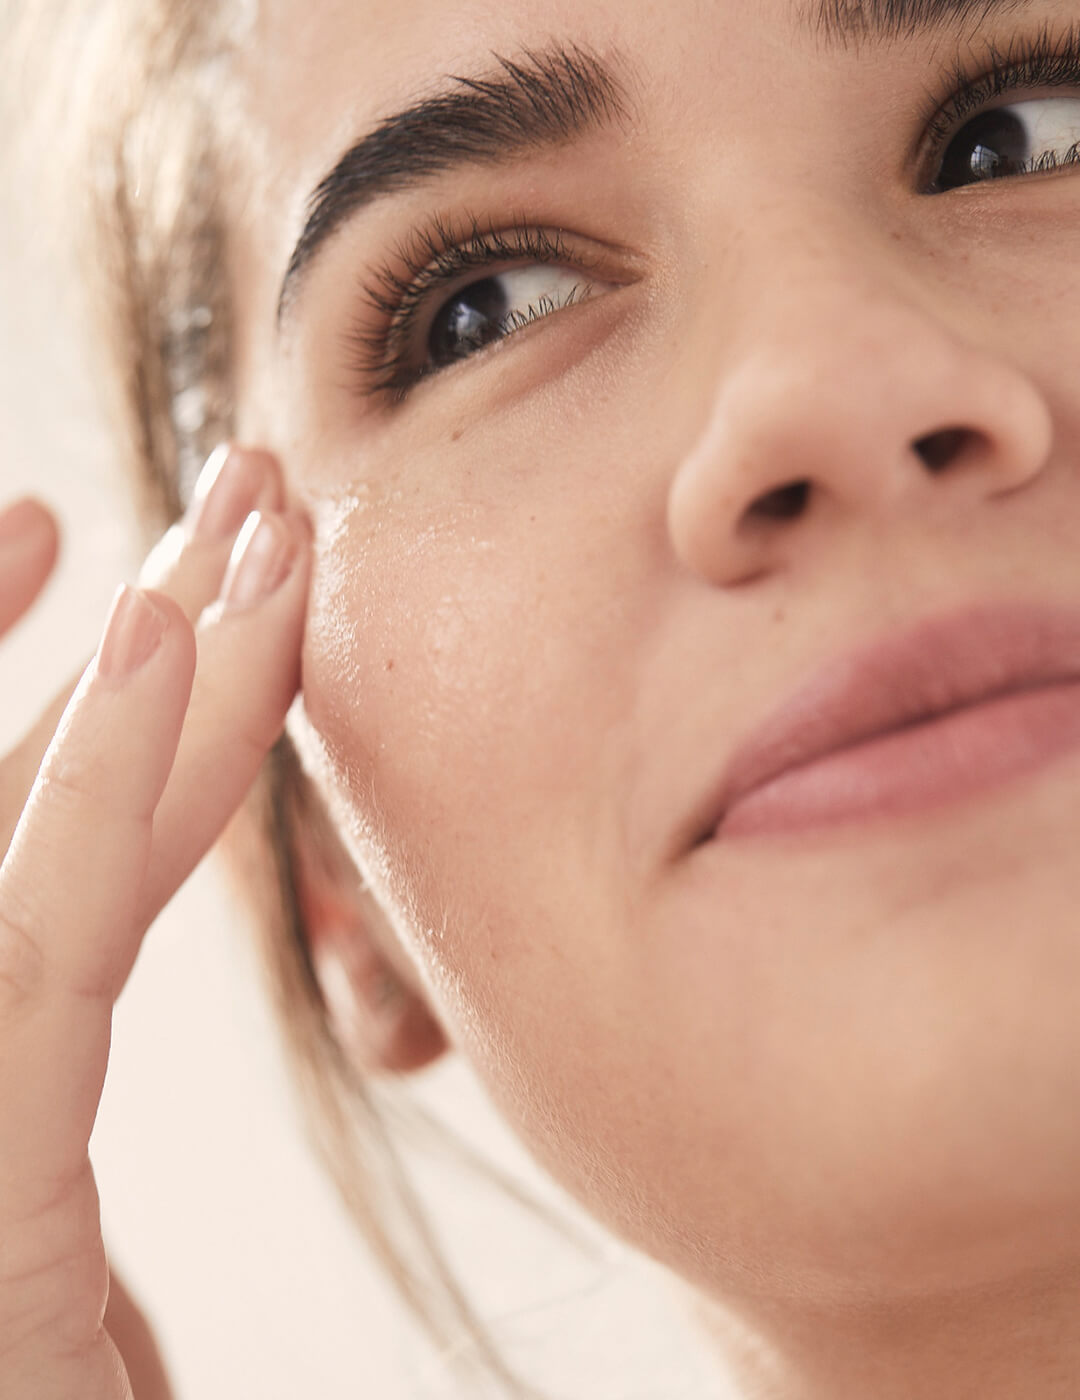
Step 1: Prep your skin.
Before you start layering on makeup and perfecting your technique, it’s crucial that you wash and moisturize your face. “Always cleanse and prep your skin with the moisturizer that’s right for your skin type,” says Sesnek. The reason? “Makeup will never lay properly without it.”
When your skin isn’t properly prepped you won’t be able to achieve an even flawless finish. Instead, your foundation will look heavy and gravitate toward the dry parts of your complexion while your concealer gets cakey. For more info, check out our complete guide to building a skincare routine here.
Step 2: Apply primer.
Not all primers are created equal, so to achieve the best results, it’s best to select the right primer for your skin type. We also rounded up the best primers according to Ipster reviews here if you need help picking the perfect primer. Once you have your primer, you’re ready to get to work. “Apply primer in fine, sheer layers,” says Sesnek. If you use a heavy hand the primer will start to ball or pill. Instead, apply sheer layers, focusing on the forehead, cheeks, and chin. “This will allow it to blur and mattify in these areas also known as the T-zone, which are usually the areas that are the oiliest.”
Step 3: Apply foundation & concealer.
Now that your skin is prepped and primed, you can start applying your makeup. While typically you should start with foundation first and then concealer, there are certain instances where you’ll want to reach for concealer first. If you’re unsure, our IPSY story on whether to apply foundation or concealer first is a great refresher.
Dab a few dots of foundation on your T-zone, focusing on your forehead, nose, cheeks, and chin. Next, use a foundation brush to blend it in. While you can also certainly use a makeup sponge or even your fingers, using a foundation brush is quick and easy, making it a great option for beginners (and anyone who’s looking to simplify their makeup routine). To achieve a natural finish, start with a small amount of product and blend. For more on that technique, check out our story on how to apply foundation with a brush here.
Now that your foundation is applied, you’re ready to apply concealer. Focus on any areas you want to conceal: under the eyes, around the nostrils, and any blemishes or dark spots. When it comes to covering up, it’s important to dab, never drag. Spot apply on blemishes and lightly dab, using either your ring finger, a concealer brush, or sponge. To conceal under the eyes, draw two inverted triangles under your eyes and blend the edges into your foundation by lightly dabbing. Not only is the upside triangle technique pretty fool-proof but it also brightens up the entire face, contributing to your gorgeous glow.
Step 4: Apply setting powder.
Swipe a brush or velvet puff into your setting powder and tap it to remove any excess. You want to ensure it’s evenly covered before you apply it to your complexion. Next, press it into your face to ensure you don’t move your makeup around in the application process. Focus on areas that often seem to need a touch-up throughout the day, (typically the t-zone). If you have a special occasion ahead of you or you just want to create a more airbrushed finish, you can also “bake” your makeup. Check out our full tutorial if you want to perfect your technique.
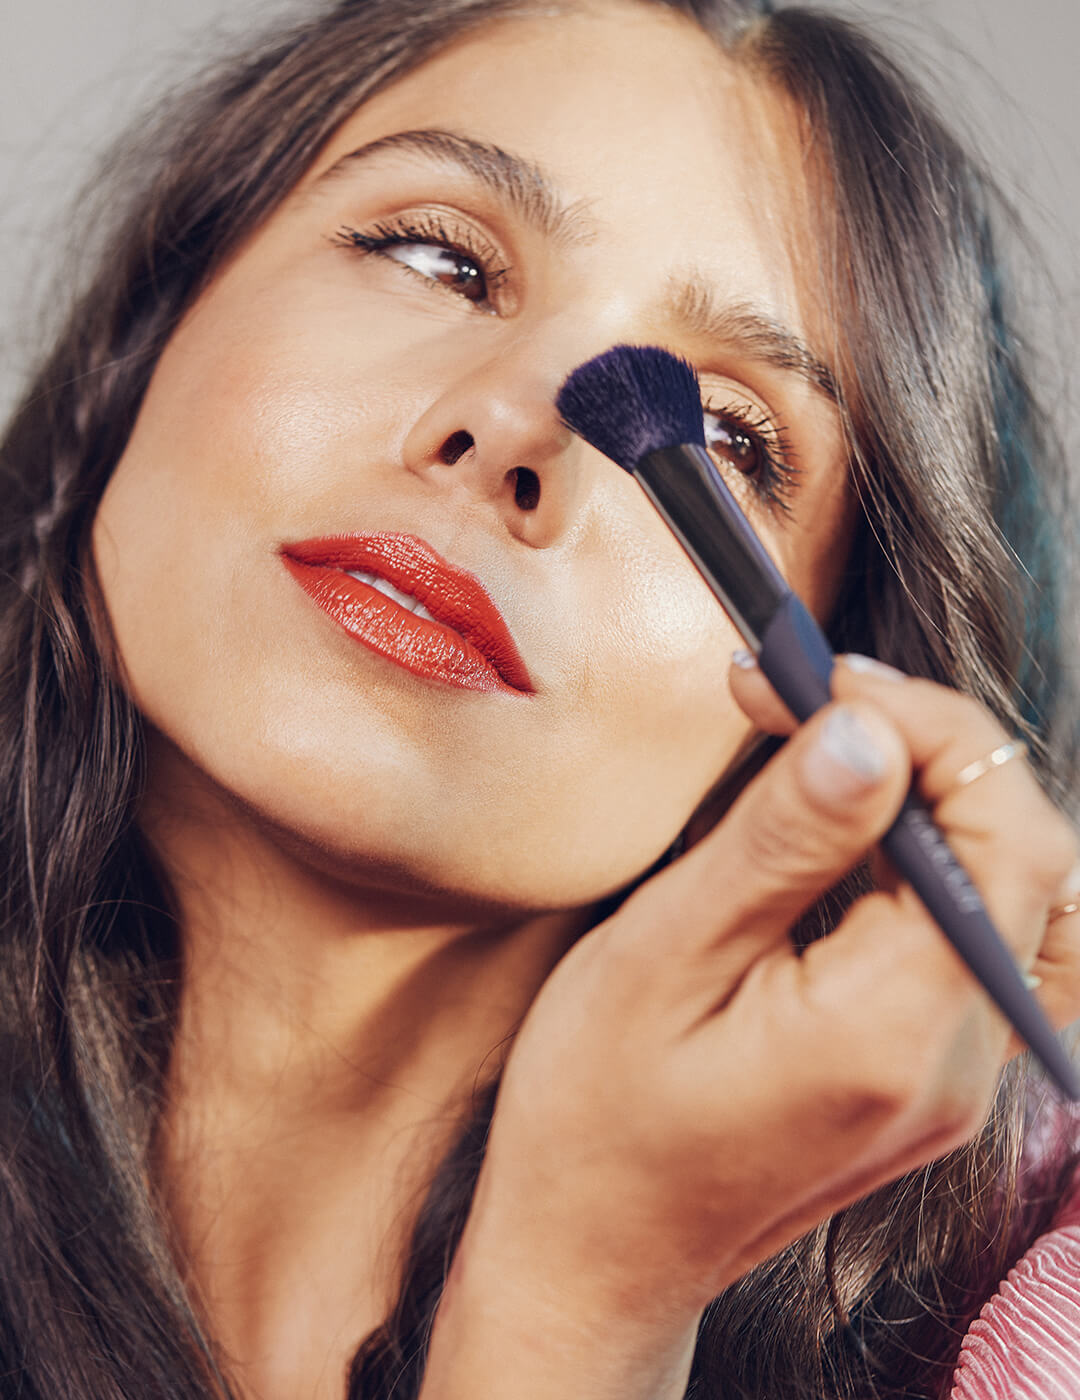
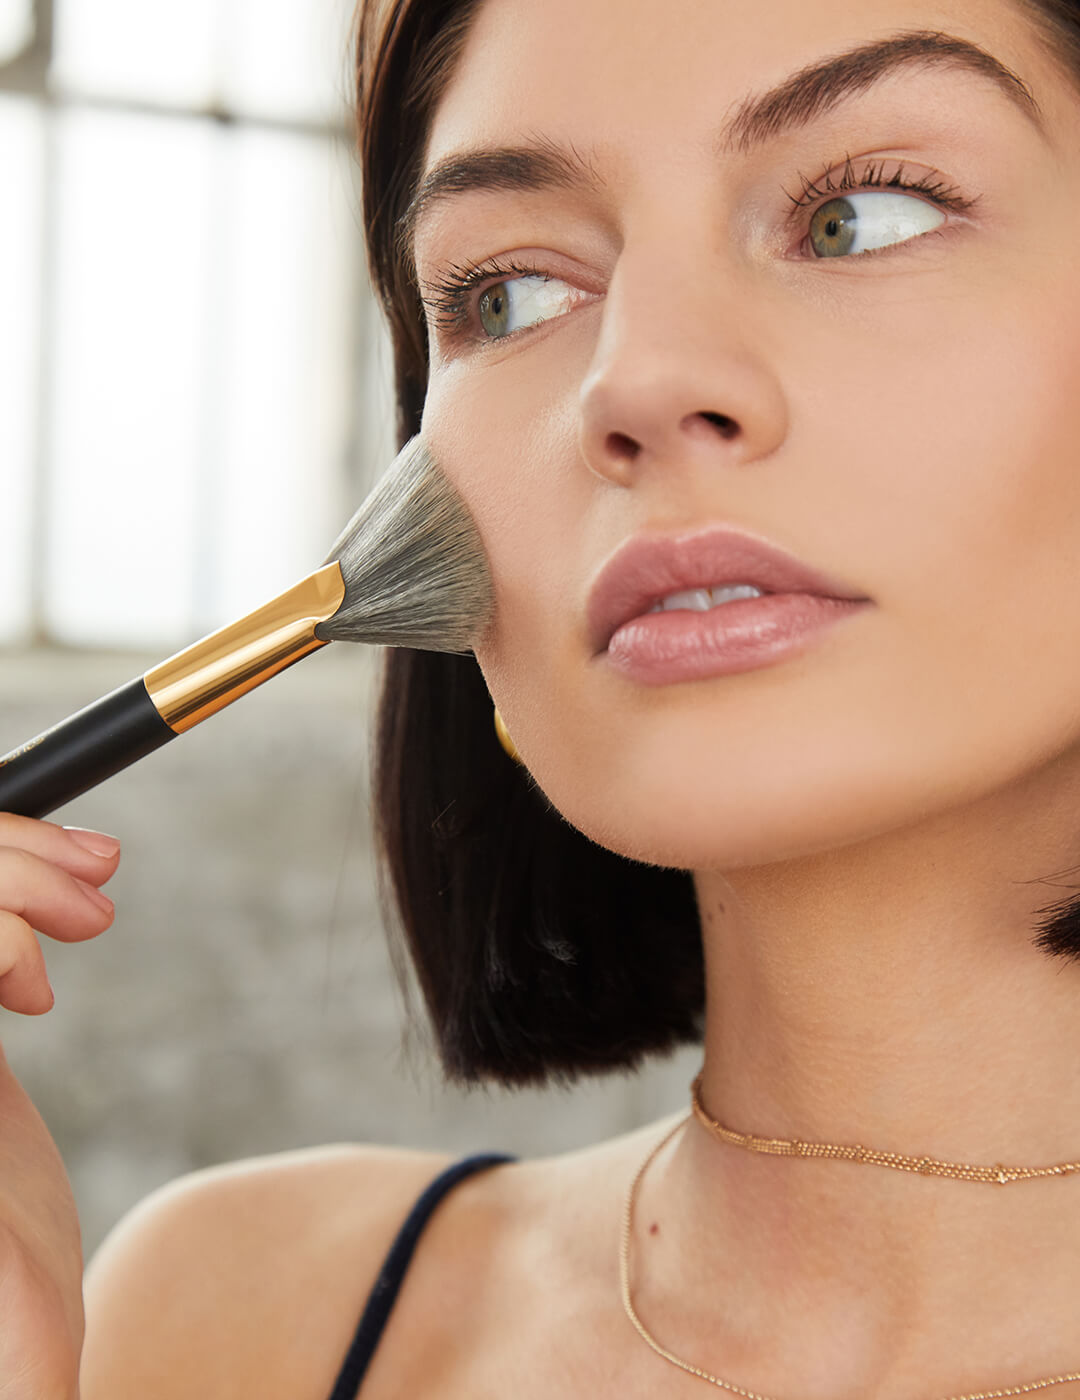
Step 5: Highlight & contour.
Contour comes in powder, liquid, and cream formulas, with powder being the most fool-proof, making it ideal for beginners. Using an angled brush, focus on the areas you want to create dimension. “I always like to start under the jawline first,” says Sesnek. Next, place contour under the cheekbones, around your hairline, and on the sides of your nose. “Contour takes a little longer to perfect but it makes a world of difference, especially in photos,” says Sesnek. Check out our tips on contouring based on your face shape to take your glam to the next level.
If you’re still slightly intimidated by the idea of contouring, Sesnek recommends practicing with a bronzer. “Use a beigey or non-orange matte bronzer to get your skills up,” he says. Apply the bronzer under the jawline, on the sides of the cheeks, and the perimeter of the forehead, just like you would with contour. The beauty of practicing with bronzer? “There is more wiggle room as it tends to be more forgiving,” Sesnek says.
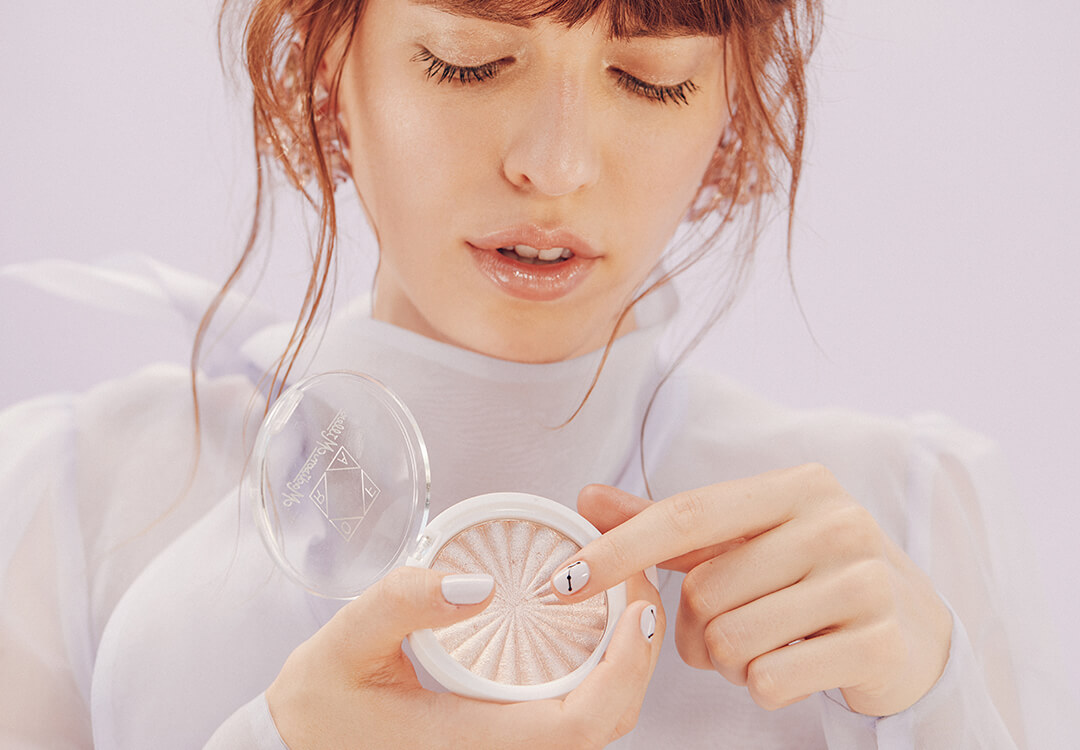
When it comes time to apply highlighter, focus on the “high” points of the face that the sun would naturally hit. “Adding highlighter above cheekbones, by the eyebrow arch, down the bridge of the nose and blending very well will give the most realistic dimension,” says Sesnek. While highlighter comes in a variety of forms, a powder highlighter is easiest to use if you’re a beginner. To apply, dip your brush in the powder and tap it to remove excess powder. Next, lightly glide it over the high points mentioned above. If you’re not sure which one is right for you, feel free to check out some of our favorite highlighters here.
Step 6: Apply your bronzer & blush.
When selecting the right bronzer be sure not to go more than a shade or two darker than your regular complexion. You can also check out some of our favorite bronzers here. Once you have selected your shade you’re ready to begin bronzing. Using a brush, blend bronzer around your hairline, on your cheekbones, and on your jawline. The easiest way to remember this? Just think of the number 3. For a fool-proof application, draw a number 3 on your face, starting at your hairline and then continuing down to your cheekbones before rounding it out under your jawline. Blend in circular, sweeping motions for a flawless finish, and dust some on the bridge of your nose to complete your sun-kissed glow.

When it comes to blush, it’s best to select a hue that brings out your skin’s natural undertone, (you can check out our favorite blushes here for a little beauty inspo). Next, using a brush, apply blush to the apples of your cheeks to create a subtle, natural-looking flush, moving your brush in circular motions to blend as you go. If you’re unsure where the apples of your cheeks lie, simply smile! The area that rounds out as you smile is where you should apply your blush.
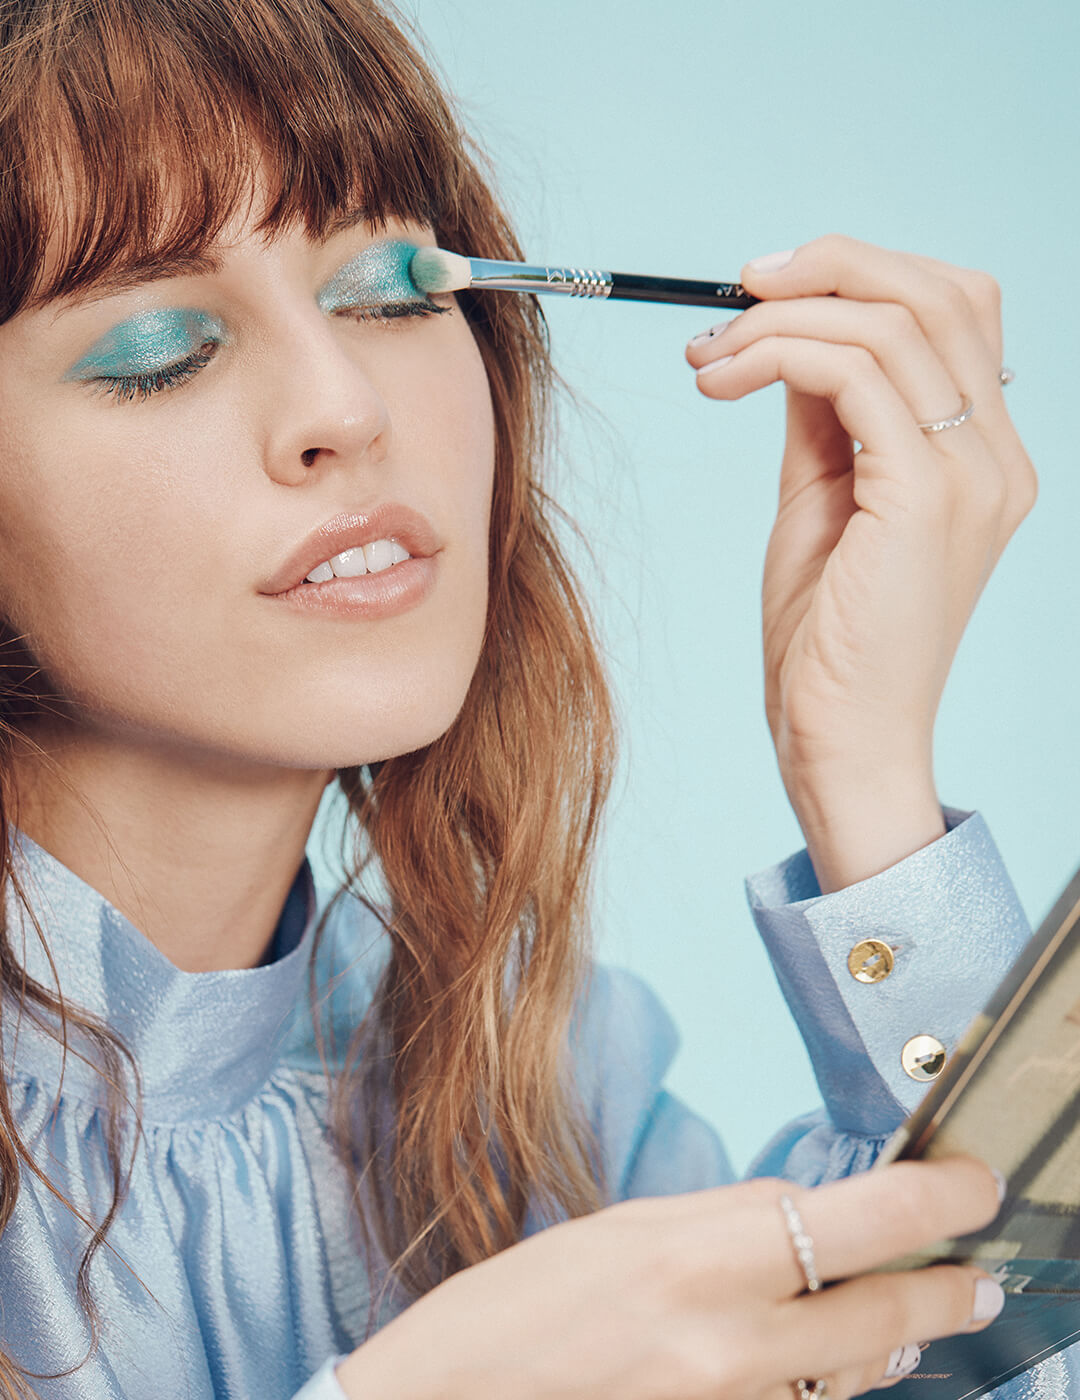
Step 7: Apply your eye makeup.
When it comes time to apply eye makeup, the choice is really up to you. Do you want to create a natural makeup look for a day at the office? A smoky eye for a sexy date night? Do you feel like trying your hand at the edgy negative space liner look for drinks with friends? Depending on where you’re headed and what you plan on wearing you can tailor your eye makeup to match your mood. Rely on your eyeshadow, eyeliner, and mascara to create the perfect glam.
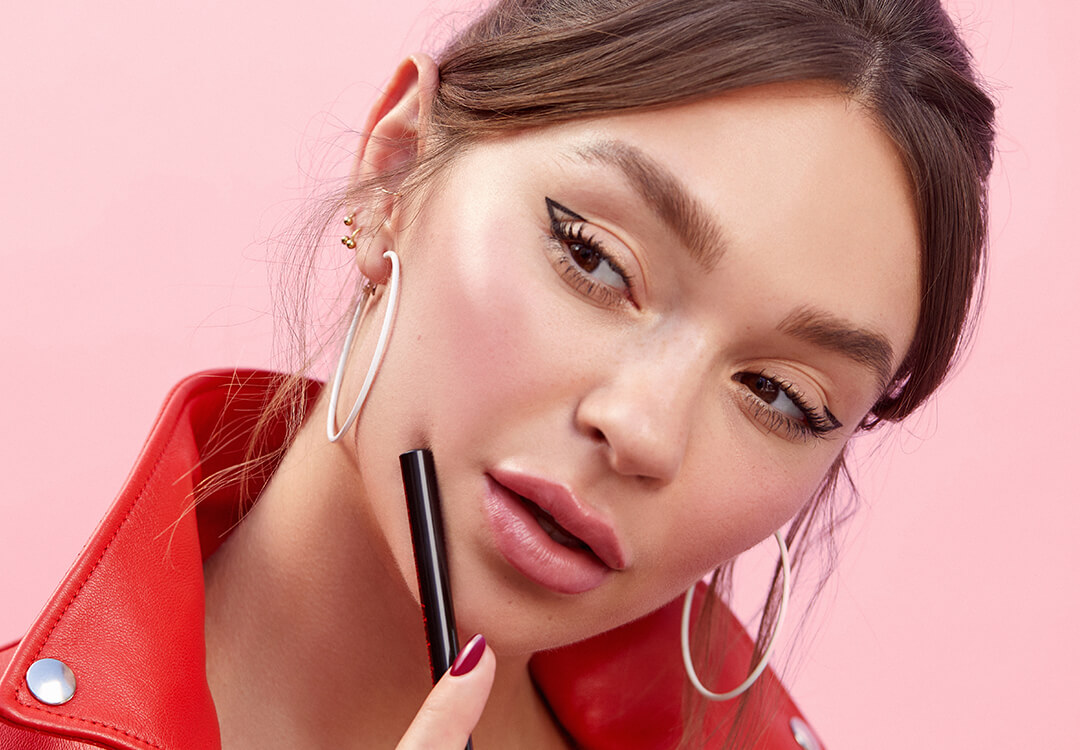
Once you’ve applied your eyeshadow, you can move on to your eyeliner. “As a beginner I would use a creamy, non-waterproof pencil closest to the lashes and start slowly until you become more comfortable applying eyeliner or adding wings or feline flicks,” says Sesnek. Keep q-tips close by for fuss-free cleanup.
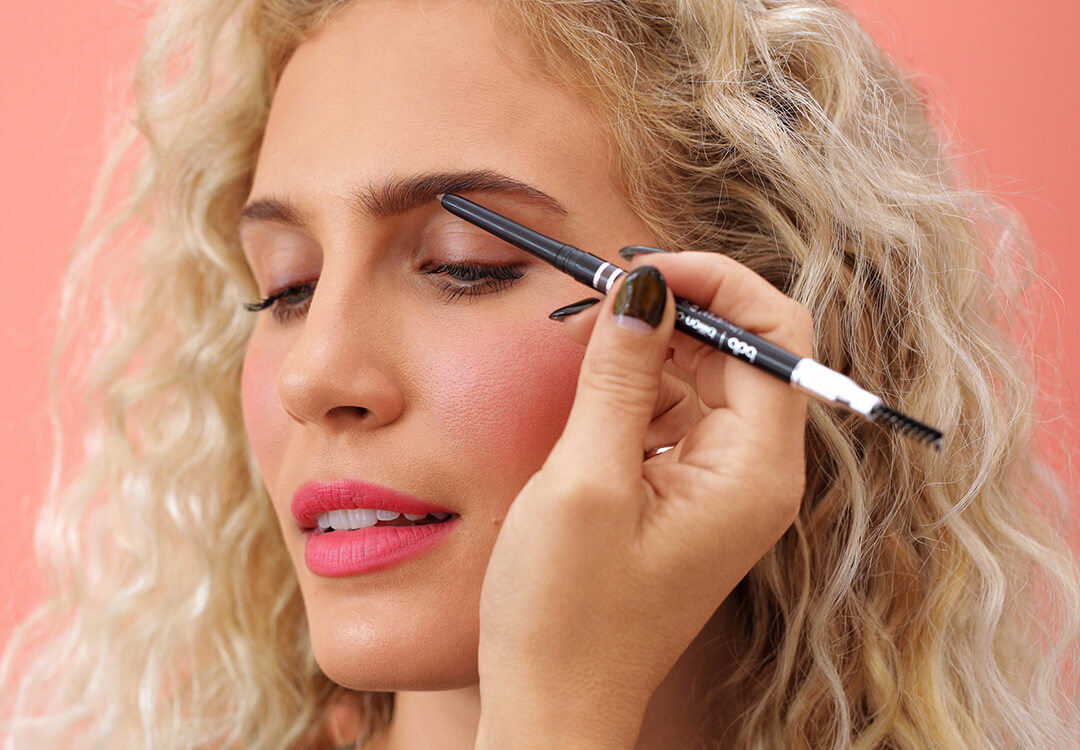
Brows deserve attention all on their own. You can either make your brows look fuller or enhance your natural shape using a variety of products, like brow pencils, powders, or gels. If you aren’t sure which product is right for you, stick to these guidelines. Use a pencil for the most natural-looking approach that mimics your real hair. If you want to fill in sparse spots, a brow powder will be your best friend. Finally, for unruly brows, take out the brow gel to lock them in place. “I personally use all three formulas, sometimes all on the same set of brows,” says Sesnek.
Step 8: Apply your lip products.
If using a lip primer, prep lips before you begin. Next, use your lip liner to outline your mouth. This is where you can also contour and create the illusion of a larger pout by simply lining slightly over your lips. Next, fill in your lips with your liner. Use this as an outline and apply your lipstick. For more tips, check out our comprehensive guide to applying lipstick like a pro.
With these expert tips, the right products, and a little practice you’re ready to take your makeup routine to the next level--and we can’t wait to see your flawless faces! Share a photo on Instagram or Twitter and be sure to tag us @IPSY to show off your skills.
Want in on all the Glam Bag fun? Take our Beauty Quiz now to get started. And don’t forget to check us out on Instagram and Twitter @IPSY.