


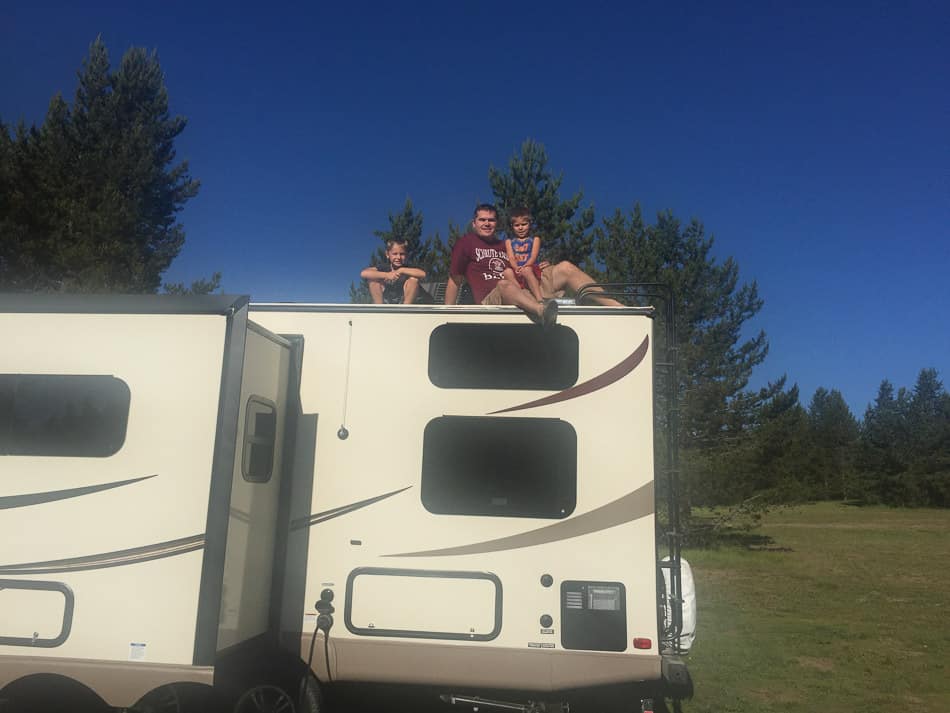
Does My Camper or RV Have a Rubber Roof?
When deciding to take a look at my rubber roof on my camper to see if any repairs were needed, I wondered why rubber roofs are becoming more common on campers and RVs. It turns out there are several reasons. Rubber roofs are cheaper to maintain or repair, have low weight, are less slippery, and less likely to have weather damage.
If you own an RV or camper, you may be wondering which type of roof you have. In short, aluminum and fiberglass roofs are hard. Fiberglass tends to be solid but is not metallic while aluminum is definitely metallic. Vinyl kind of looks and feels like rubber, but if you try to pinch it, it won’t pinch up. If your roof isn’t fiberglass, aluminum, or vinyl, then it’s probably rubber.
But there are also 2 main types of rubber roof and they require different maintenance. There are ways to tell which type of roof you have and what maintenance you need to complete on the rubber roof of your RV.
Rubber roofs are low weight and don’t cost as much. They are also the newer type of roofing for campers and RVs. In fact, campers report that RV repair shops often replace damaged fiberglass roofs with rubber. A rubber roof is less expensive to replace, while replacing a fiberglass roof could run into thousands of dollars. A TPO rubber roof might cost only a few hundred dollars to replace. A well-maintained rubber roof will last for years.
Different Types of Rubber Roofs
There are two different types of rubber roofs: EPDM and TPO. EPDM is short for Ethylene Propylene Diene Monomer. TPO stands for thermoplastic polyolefin, a synthetic rubber used on RV roofs. The trick is to find out what type of rubber roof you have, so you can maintain your rubber roof the right way. Campers should refer to the owner’s manual of their RV or camper to see which type of rubber roof they have. If you have no owner’s manual or it doesn’t specify, here are some ways to tell if your roof is EPDM or TPO.
- If you notice white or gray streaks down the sides of your RV or camper, you likely have an EPDM roof as they are supposed to ‘shed’ slightly as a protection against UV rays. This shedding is less than 10% over a decade of time and shouldn’t affect the life of your rubber roof, although it will still need regular maintenance the same as any roof.
- A second way to determine which type of rubber roof you have requires some caution. An EDPM rubber roof will be very slippery when wet, while a TPO roof is not.
- TPO is also very glossy while EPDM is not.
- The texture may also give some clues as to what type of roof is on your RV or camper. EPDM is very smooth, while TPO may be slightly bumpy, similar to an orange peel.
- An EPDM rubber roof will also take on a chalky look.
Just because a roof isn’t aluminum or fiberglass, don’t assume its rubber. Vinyl is also used for the roofs of campers and RVs. You can test for vinyl by giving a pinch to the roof. Vinyl won’t pinch up. Bottom line: if you’re still not sure what type of roof your camper or RV has, take it to an RV repair shop and let them inform you whether the roof is rubber or vinyl.
How to Maintain Your Rubber Roof
Rubber roofs do require more maintenance than fiberglass or aluminum roofs, although fiberglass and aluminum roofs also require proper cleaning, visual inspections and repairs are more expensive.
Soft-soled shoes should be worn when walking on the roof of your RV or camper to clean or make a close visual inspection. Harsh, abrasive cleaners, products with petroleum distillates, or citrus ingredients should not be used to clean either an EPDM or TPO roof.
Maintaining a EPDM Rubber Roof
EPDM roofs should be cleaned every few months to keep the roof under warranty. The hotter and more humid your climate is, the more frequent the cleaning and conditioning should take place.
Sweep loose debris from the roof.
With a bucket of water and a sponge mop, mop the roof. Some campers recommend dishwashing detergents. Dicor makes a product for cleaning rubber roofs if preferred. Make sure that your cleaning product does not have petroleum distillates.
After mopping, rinse thoroughly with a hose. You can choose to cover the sides of the RV or camper with plastic before you rinse, to avoid black streaking down the sides which will save you work later on.
Inspect the rubber roof for cracks and pin-sized holes which will allow water to leak into the wood structure. Check the edges of the barrier. Look for any areas where the self-leveling sealant might be lifting away. If so, remove as much as you can and replace with self-leveling sealant in a caulking gun.
Caulking is needed once a year, regardless of the type of roof an RV might have. Use RV roof caulking around roof vents, skylights and any other areas where an item has been secured to the roof. Campers will find they can buy Dicor for $10 or so at Amazon or Walmart.com. Dicor also makes acrylic EPDM rubber roof coating for about $66 to apply after your cleaned roof has dried. This is flame retardant and will also help prolong the life of your roof.
EPDM kits can be purchased to replace your rubber roof if you’re a DIY type of person. Dicor sells a kit with the items needed for the application.
Maintaining a TPO Rubber Roof
For cleaning, use a soft-bristled brush with a bucket of water and a mild, non-abrasive cleanser. Special care should be taken not to damage the top membrane of the rubber roof. Avoid walking where the cleanser has not yet been rinsed away. Rinse the cleaning solution away completely with a hose. Examine the surface of the rubber roof for cracks or damage. If repairs are needed, the product Eternabond will not only fuse together cracks, but can be used on skylights, flashings, and chimneys.
If the roof has been in high winds or hail, it should be checked for damage as with any roof. Sometimes while driving on the road, a low hanging tree’s branch might snag against the roof of your camper or RV and cause some damage, or maybe you scrubbed a little too hard on an area of your roof. There is no need to cancel the trip or coat a roof that is otherwise in good condition. A patch can repair the damage permanently. RV patches are something that should be in every camper or RV’s toolbox. They can be applied to the small area of damage to seal the tear or puncture caused by the branch or scrubbing. They adhere with adhesive and are water resistant. Eternabond is one type of patch found easily available at Amazon and Walmart. Such patches, ready to use if you need them, will add to your confidence on the road for being ready for anything.
Pros and Cons of Rubber Roofs
[column type=”1/2″]Pros
- Less expensive
- Low weight
- Less slippery
- Repairs are inexpensive
- Less likely to have weather damage[/column]
[column type=”1/2″ last=”true”]Cons
- Rain may be louder than on fiberglass roofs
- Branches may cause damage
- Some slides might not have rubber roofs
- Not eco-friendly, except for TPO roofing
[/column]
Other Types of Roofs on RVs
Other common types of roofs for RVs are fiberglass, vinyl, and aluminum. Although we’re focusing on rubber roofs, some safety tips need passed on regarding metal and fiberglass roofs.
Metal roofing needs support beams. If you have a metal roof, you want to put your weight on the support beams when up on the roof.
Fiberglass roofs are hard and can be dangerously slippery when wet. Caution is needed when cleaning a fiberglass roof or climbing to the roof after a rain. Fiberglass roofs might also be more slippery after waxing. Of course, it pays to take care on all roofs regardless of the type of roof you have.
Remember, if you have a newer model RV, the chances are, you will have a rubber roof as these are becoming more common. One point to ask about before buying, or checking if you have already bought an RV or camper, is whether rubber roofing is on the slides also, as some manufacturers might not include rubber roofing on the slides which might allow water to reach the level underneath.
EPDM kits can be purchased for applying rubber to the top of your slideouts, if needed. If you do need to apply rubber to your slideouts, remember to care and maintain the tops of the slideouts just as you would for the main roof of your camper or RV.
While rubber roofs have their advantages, including less weight to pull down the road, when choosing an RV or camper, choose the one that is right for your lifestyle. Remember that all roofs, regardless of their design, require regular cleaning, inspection, and then repair as needed.
With this information, you will now hopefully be able to determine what type of rubber roof your camper or RV has and the type of cleaning and maintenance it will need. Remember that even with rubber roofing, an ounce of prevention beats a pound of cure any day.