


In this tutorial, you’ll learn how to use Slices, which allow you to embed parts of your app into viewers like the Google Search app and Google Assistant.

Version

At Google I/O 2018, Google announced a new way to present UI templates that can display rich, dynamic and interactive content from your app within the Google Search app and, later, in other places such as the Google Assistant.
Those UI templates are called Slices. The templates are great for many reasons:
- Slices can help users to get information or take instant action outside of an app screen.
- Slices make your users re-engage with your app in a relevant context.
- Slices are built into Android Jetpack and can extend all the way back to Android Kitkat API 19.
Slices are in beta release at the time of writing this tutorial, but you can get started developing with them today!
Getting Started
In this tutorial you are going to build a Slice template for a raywenderlich.com Bookstore app. The Slice will display some book covers with titles and prices, as well as a notification icon to enable or disable the app notification. Here’s what the end product will look like:

If you’re completely new to Android, you might want to first check out Beginning Android Development Part One. If you need to catch up on Kotlin, you can check out Kotlin for Android: An Introduction.
To follow along with this tutorial, you’ll need to use Android Studio 3.1.3 or later and Kotlin 1.2.30 or later.
Start by downloading the materials for this tutorial using the Download Materials button at the top or bottom of this page. Fire up Android Studio and import the starter project. For the most part, you will create your own classes. You will need to find AndroidManifest.xml to add code, so make sure you can locate that.
If you have not downloaded the SDK for Android API Level 28 previously, you’ll have to do that to run the app. If you already have Android API 28 set up, you can skip the following four steps and go right to building and running the app.
- Select Tools ▸ SDK Manager, or click the SDK Manager icon in toolbar.
- In the SDK Platforms tab, select Android API 28. You may need to select “Show Package Details” to see it.

In the SDK Platforms tab, select Android SDK Platform 28.
- In the SDK Tools tab, select Android SDK Build-Tools 28-rc2 or higher. Again, you may need to select “Show Package Details.”

In the SDK Tools tab, select Android SDK Build-Tools 28-rc2
- Click OK to begin install.


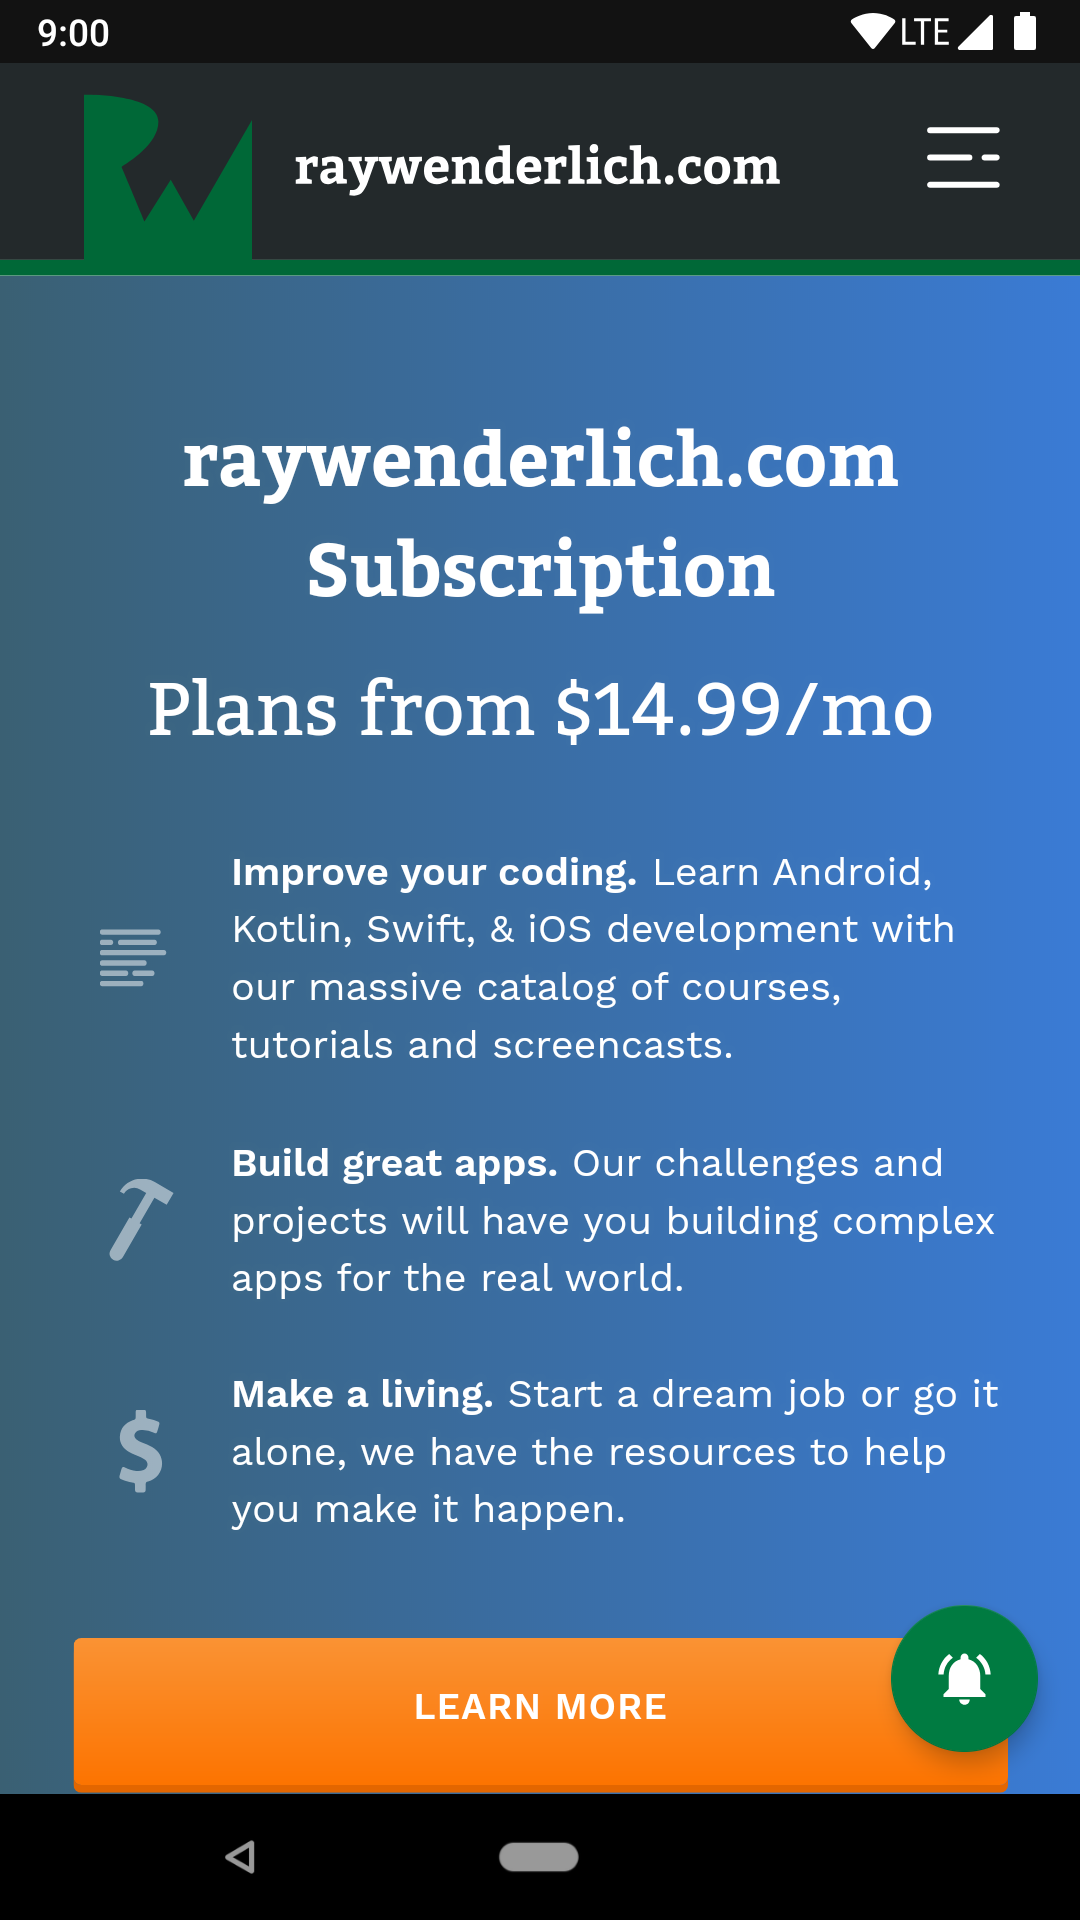
Once the SDK is installed, build and run the app. It is a bookstore app, and it shows the available books on https://store.raywenderlich.com/.

Slice Viewer

Slices need a viewer or presenter to display their content.
The Google Search app is one of the suitable presenters to show your Slice template. When the user types a word in the search bar, the Slice you’ve created might present related information to the user’s search keyword.
For example, if the user types words such as “ride” or “ride car,” Slices from installed apps like Careem or Uber could show to let the user request a car even without opening the corresponding app; that full experience can be achieved by App Actions and Slices.
Displaying Your Slice With Slice Viewers
Bear in mind that presenters may make a light customization to your Slices to match their design requirements, e.g., font style, font size and/or colors. Icons in your Slice, for example, will be tinted with the accent color of the presenter app.
You will use a Slice Viewer app to display the Slice from your Bookstore app. The Slice Viewer app uses your slice Uri to view it on what’s called its surface, and on a first time request of your Slice, the user will be asked to grant a permission to the viewer.
Installing the Slice Viewer App
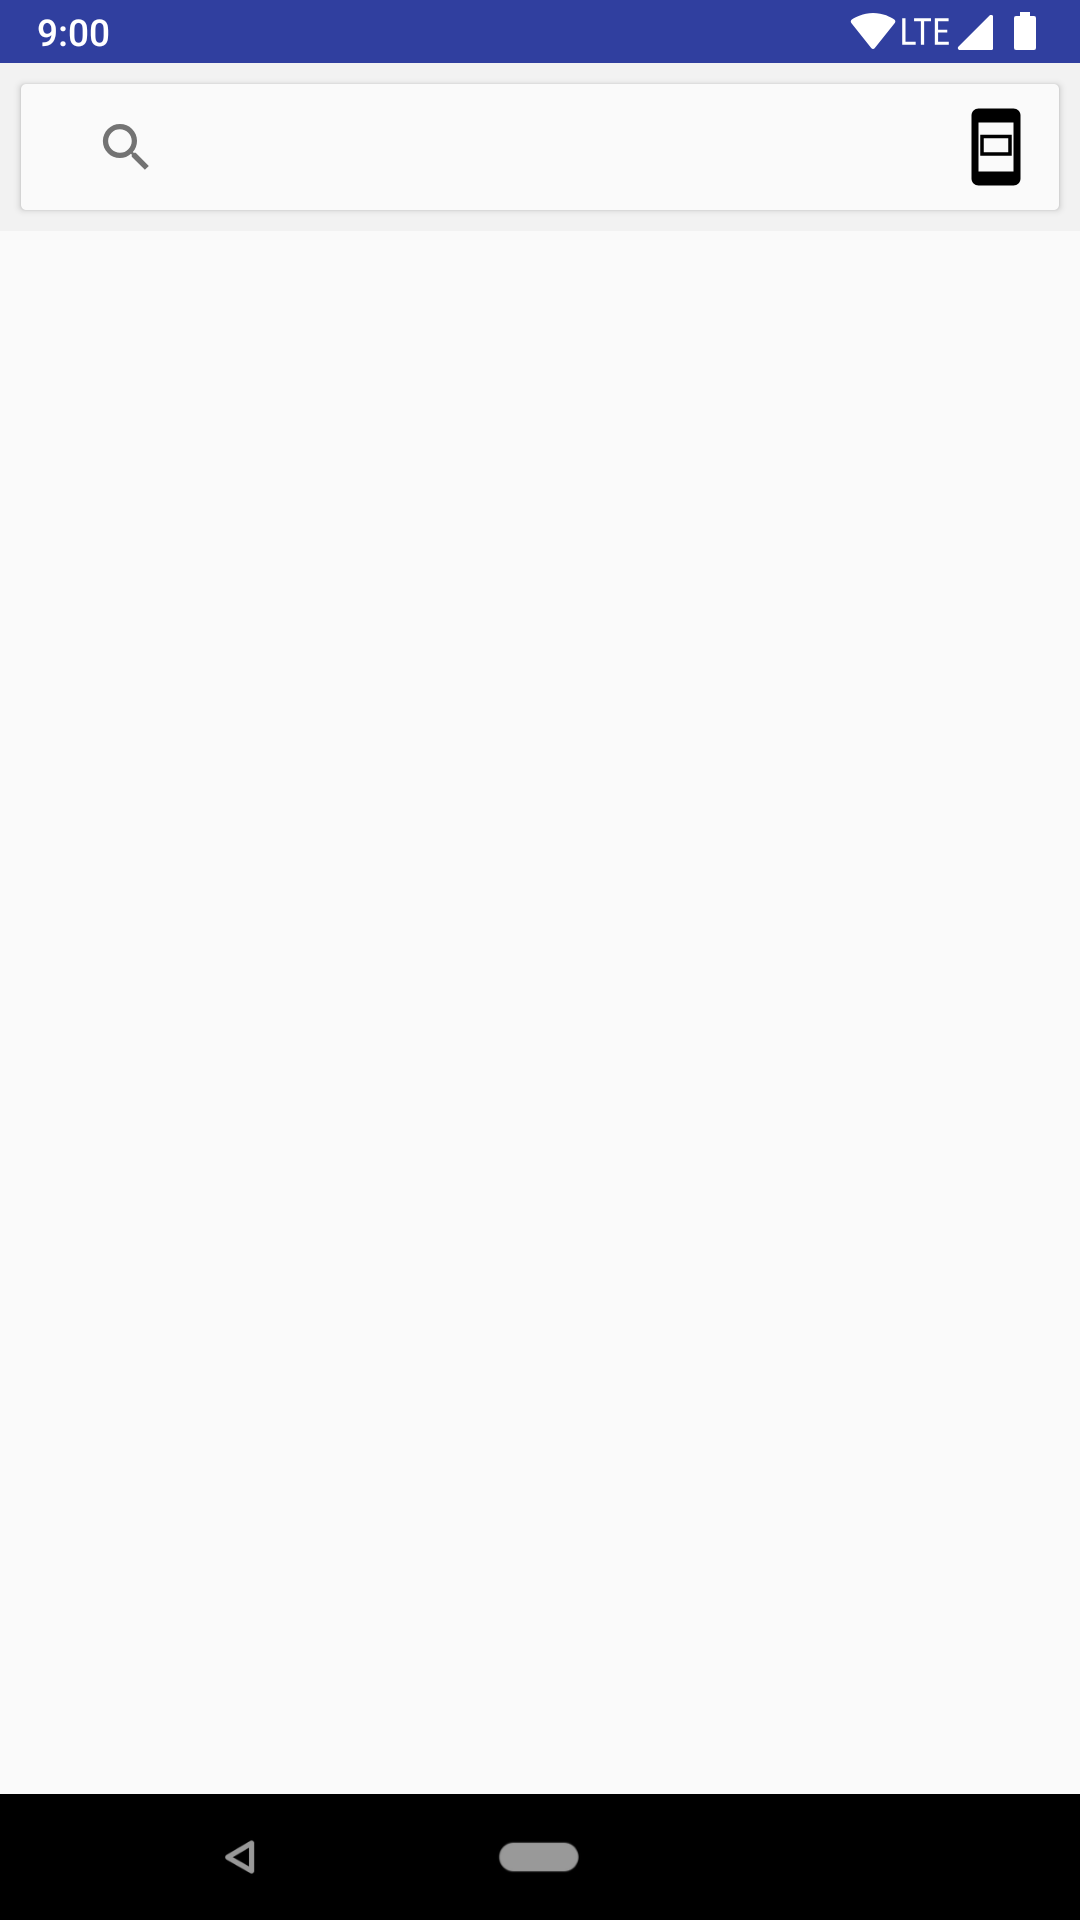
Install the SliceViewer.apk, which can be found in the downloaded materials for this tutorial, on a real device or emulator, then open the app. You can install the APK file by dragging and dropping the file onto the emulator if you’re using one or running adb install -r -t SliceViewer.apk from the terminal while in that directory. The Slice Viewer app looks like this:
Creating the BookstoreSliceProvider Class
The starter project already includes the Slices core and builders libraries as dependencies in the app’s build.gradle file, so you can get started right away building your Slice:
implementation "androidx.slice:slice-core:1.0.0-beta01"
implementation "androidx.slice:slice-builders:1.0.0-beta01"
Create a new Kotlin class named BookstoreSliceProvider and make it inherit from the androidx.slice.SliceProvider class. Use the androidx option if available for any imports that you need to add for the rest of the tutorial.
import androidx.slice.SliceProvider

class BookstoreSliceProvider: SliceProvider() {

}
Implementing the SliceProvider Class
The SliceProvider class is your only way to expose your Slice to other apps, and it decides which Slice will be exposed to the viewer.
The SliceProvider class is a subclass of the ContentProvider class. Content providers are one of the primary building blocks of Android applications. They encapsulate data and provide it to applications through the single ContentResolver interface. You can use content providers if you need to share data between multiple apps. For example, Contacts data is used by multiple apps and is stored in a content provider. Learn more about content providers from here.
Add two methods to your BookstoreSliceProvider, along with a companion object. You’ll add the createBookstoreSlice() function shortly:
// 1
override fun onCreateSliceProvider(): Boolean {
 // 2
 return true
}

// 3
override fun onBindSlice(sliceUri: Uri): Slice? {
 //4
 val path = sliceUri.path
 when (path) {
 // 5
   "/$BOOKSTORE_PATH" -> return createBookstoreSlice(sliceUri)
 }
 // 6
 return null
}

companion object {
   // 7
  const val BOOKSTORE_PATH = "book_store"
}
Here, you:
- Implement
onCreateSliceProvider()to initialize your Slice provider on startup. Do not put long running operations here or your app launch will be delayed, and the first Slice that binds with the viewer will be delayed, too. - Return
trueif the provider was successfully loaded,falseotherwise. - Create your Slice inside the body of
onBindSlice(). You should create and return your Slice as quickly as possible. If you want to make network requests or I/O operations, do so in the background to keep your Slice UI responsive. If your background operation is done and you want to update your Slice with the new data, callcontentResolver.notifyChange(uri)with the Slice URI, and Android will invokeonBindSlice()for you. - Get the path from the URI.
- Check if that path is the path of your Slice and return the bookstore Slice if true.
- Return
nullin case you have no Slice for this path. - Create a
Stringconstant as a bookstore path.
Slice providers must be registered in the app Android manifest, so declare BookstoreSliceProvider in the AndroidManifest.xml file as a child of the application element.
<provider
  android:name=".BookstoreSliceProvider"
  android:authorities="com.raywenderlich.android.bookstore"
  android:exported="true"
  android:grantUriPermissions="true"/>
You’ve marked the Slice provider as exported so that it is made available to Slice viewers.
Creating the Bookstore Slice
Slices are list of rows that are constructed using a ListBuilder, a type of SliceBuilder.
Slice Builders

At the time of writing of this tutorial, Android provides five different Slice builders to build different types of rows with different designs and functionalities: HeaderBuilder, RowBuilder, GridRowBuilder, RangeBuilder, and InputRangeBuilder.
To create your “bookstore Slice” design, you will use:
ListBuilderas the main builder of your Slice.HeaderBuilderto set a header with title and subtitle.GridRowBuilderto add a row of cells.CellBuilderto add a cell; each cell has an image, title and text.
Add the createBookstoreSlice() method to BookstoreSliceProvider:
private fun createBookstoreSlice(sliceUri: Uri): Slice {
  // 1
  return ListBuilder(context, sliceUri, ListBuilder.INFINITY)
      // 2
      .setHeader {
        it.apply {
          // 3
          title = "Bookstore"
          // 4
          subtitle = "raywenderlich.com" // large mode
          summary = "raywenderlich.com" //small mode
          // 5
          primaryAction = createOpenBookStoreAction()
        }
      }
      // 6
      .build()
}
Also, add the createOpenBookStoreAction() method that returns a SliceAction for the action to take when a user interacts with your Slice:
private fun createOpenBookStoreAction(): SliceAction {
  val pIntent = BookstoreActivity.buildPendingIntent(context)
    return SliceAction(pIntent, createIcon(R.drawable.logo_raywenderlich),
        "Open  Book Store")
}
In the above, you:
- Construct a
ListBuilderby passing a context object, the SliceUriand the lifetime of the content in this Slice. For your case, passListBuilder.INFINITYfor the lifetime to make the content live forever. ListBuilder is the first builder you need to use to start building a new Slice, and it allows you to add different types of rows that are displayed in a list. - Set a
HeaderBuilderto display a header as a first row in your Slice template.HeaderBuilderallows you to add title, subtitle, summary subtitle and/or primary action to the header. - Set a title for the header
- Set a subtitle and summary for the header.
- Set the primaryAction for the header.
- Call the
build()method to build your Slice.
Letting the Slice Viewer Show Your Slice
You neeed to set up a run configuration to show your Slice on the top of the viewer surface by launching the Slice Viewer app using your Slice URI.
Follow these steps to do this:
- In Android Studio, select Run ▸ Edit Configurations.
- In the top-left corner, click the Plus button and select Android App.
- Enter Bookstore Slice in the Name field.
- Select your app module in the Module dropdown.
- Under Launch Options, select URL from the Launch dropdown.
- Enter your Slice URI in the URL field.
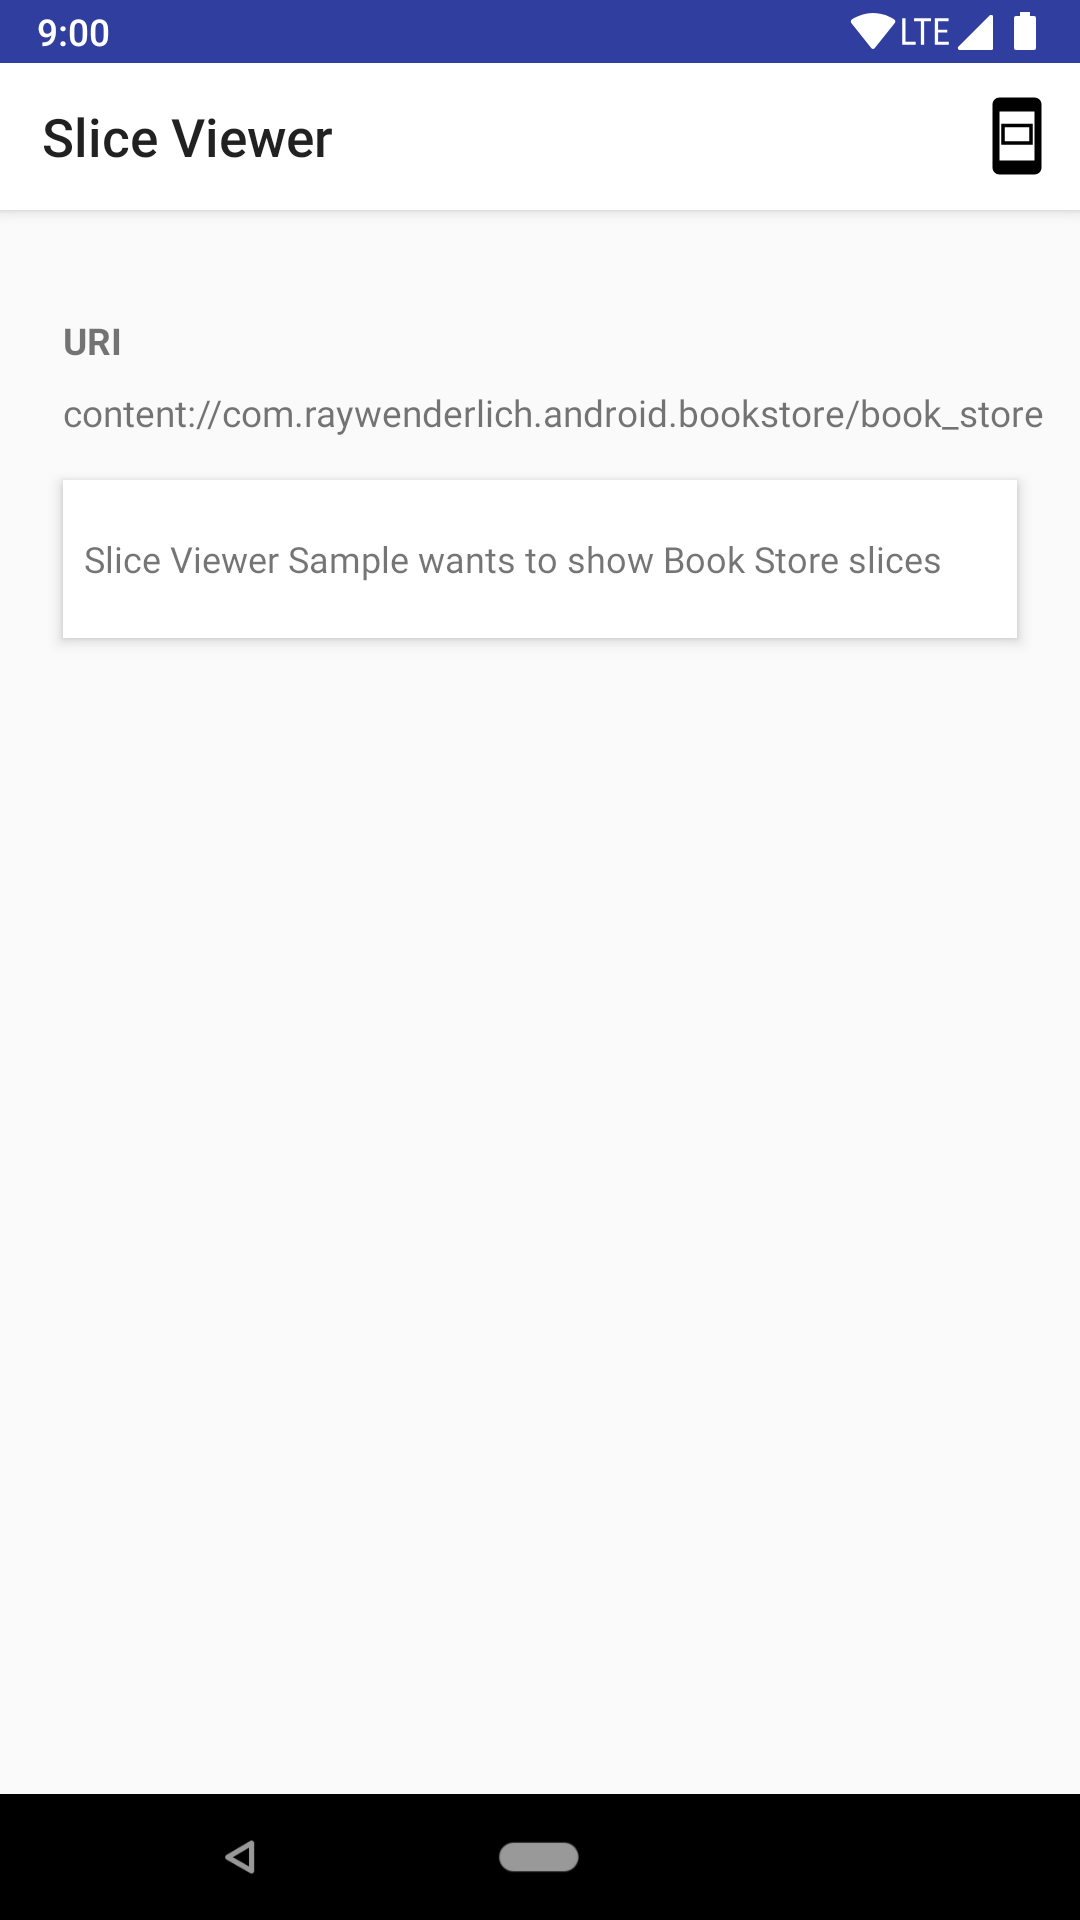
- Click OK. Build and run using this configuration; you will see a screen like this:
- Tap on the Slice Viewer item; you will see a screen like this:
- Tap on the ALLOW button to grant the permission, then you will see a screen like this:

slice-content://com.raywenderlich.android.bookstore/book_store
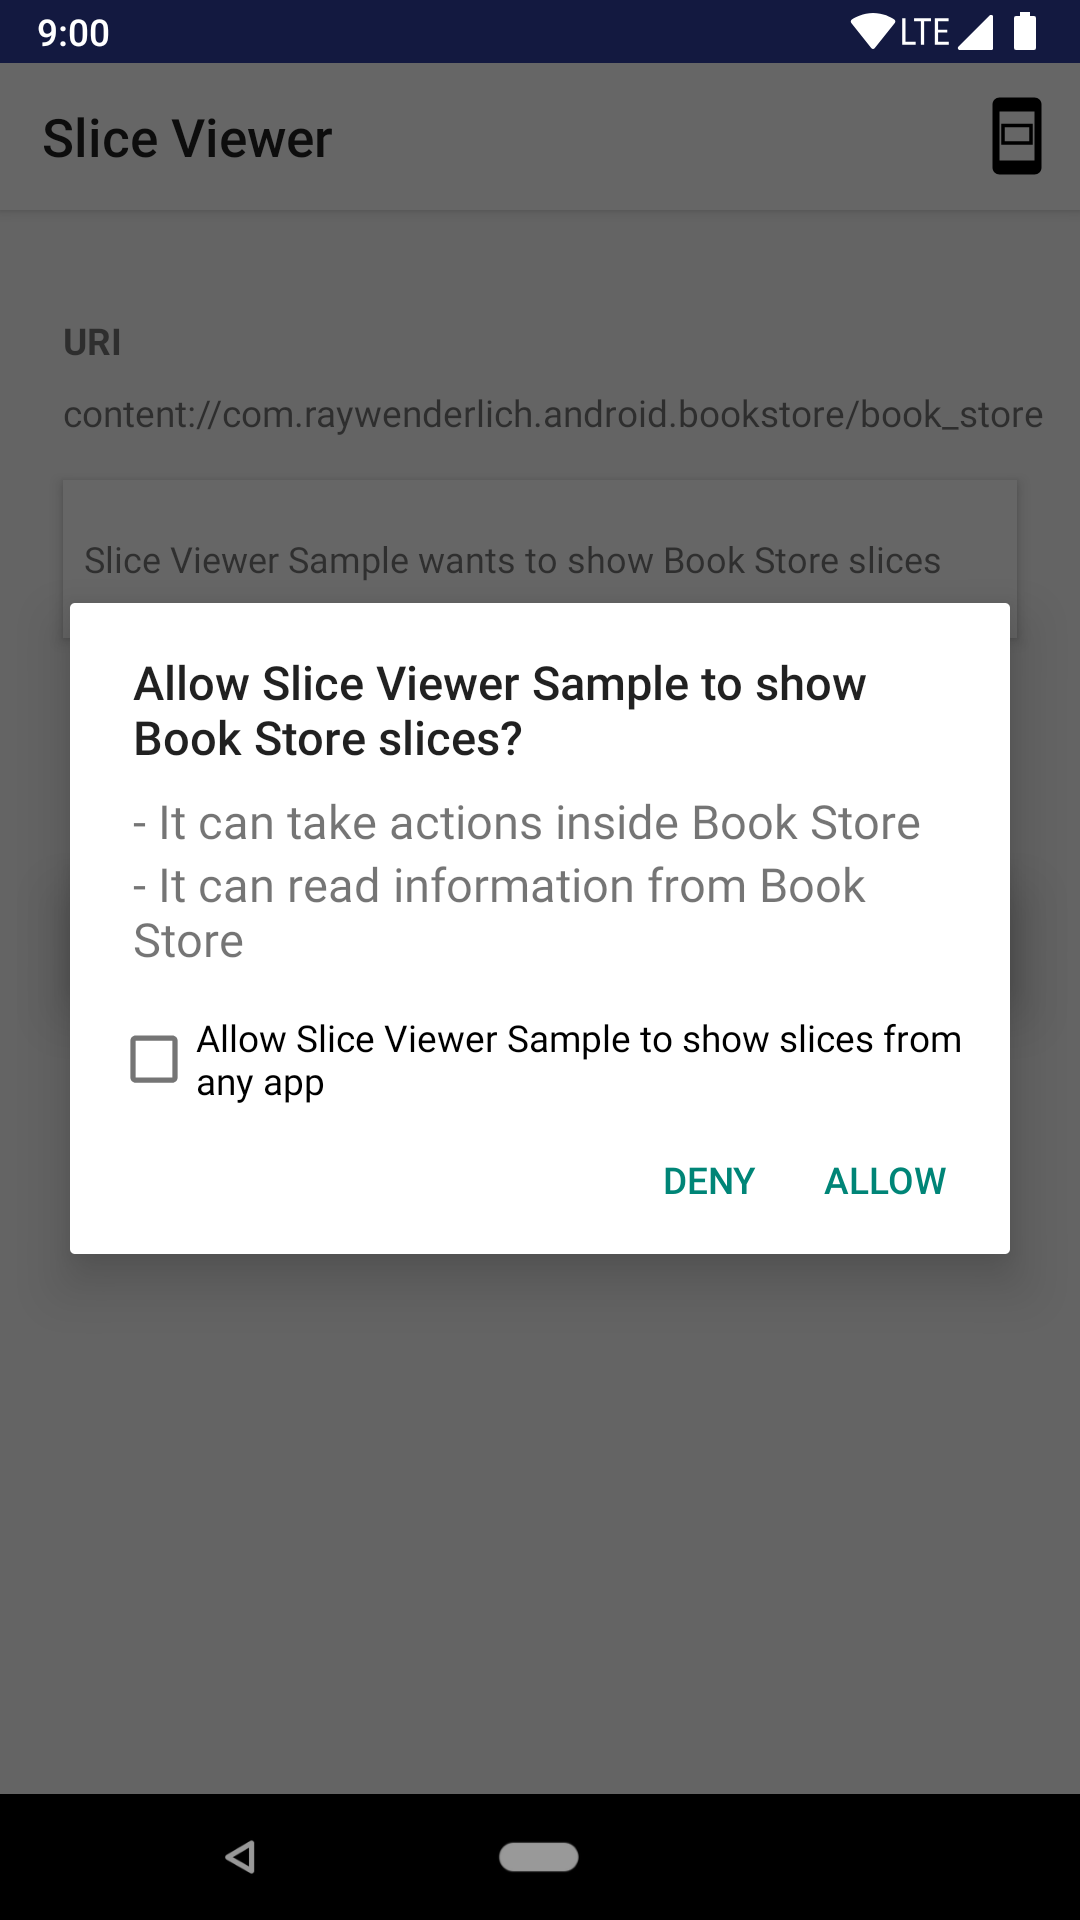
Note: The Slice Viewer app can show your Slice if and only if it has permission to access your Slice URI.

Using GridRowBuilder to Display Books
Add the following code to your ListBuilder right before .build() to add a row of cells:
//...
// 1
.addGridRow {
  it.apply {
    // 2
    val books = Bookstore.getBooks()
    for (book in books) {
      // 3
      addCell {
        it.apply {
          // 4
          addImage(createIcon(book.cover), ListBuilder.SMALL_IMAGE)
          // 5
          addTitleText(book.title)
          // 6
          addText(book.price)
          // 7
         contentIntent = BookstoreActivity.buildPendingIntent(context, book.url)
        }
      }
    }
  }
}
//...
Also add the createIcon() method to the class:
private fun createIcon(@DrawableRes resId: Int) = IconCompat.createWithResource(context, resId)
In the above, you:
- Add a new
GridRowBuilder. - Get the
bookslist from the data store. - For every book in the list, add a new
cellto the row. - Add the book
coveras animageto the cell. - Add the book
titleastitleTextfor the cell. - Add the book
priceastextfor the cell. - Set the
PendingIntentto be invoked by the primary action if the user taps on this cell in the row.
Build and run the Bookstore Slice configuration; you will see a screen like this:

Adding a Notification Icon
You can add a notification icon to your Slice to let users enable or disable notifications from your Bookstore app.
Add this addAction() before .build(), and add the getToggleNotificationAction() to the class. You’ll create a the BookstoreSliceBroadcastReceiver in a moment.
...
// 1
.addAction(getToggleNotificationAction())
...
private fun getToggleNotificationAction(): SliceAction {
  // 2
  val pIntent = BookstoreSliceBroadcastReceiver.getToggleNotificationPendingIntent(context)
  // 3
  val iconResId = NotificationSettings.getIcon()
  // 4
  return SliceAction(pIntent, createIcon(iconResId), "Toggle Notification")
}
Here, you:
- Add a
SliceActionto theListBuilder. - Get a
pendingIntentfrom a broadcast receiver calledBookstoreSliceBroadcastReceiver. This broadcast receiver handles broadcasts when the user taps on the notification icon in your remote Slice. - Get the notification icon resource ID based on the notification state (enabled or disabled).
- Create and return a new
SliceActionwith three parameters (pIntent, actionIcon, actionTitle).
Note: To send and receive data from your remote Slice to your app, you need to create a BroadcastReceiver!
Create the BookstoreSliceBroadcastReceiver class:
class BookstoreSliceBroadcastReceiver : BroadcastReceiver() {
  // 1
  override fun onReceive(context: Context, intent: Intent) {
    // 2
    val action = intent.action
    // 3
    if (ACTION_TOGGLE_NOTIFICATION == action) {
      // 4
      NotificationSettings.toggleNotification()
      // 5
      val uri = Utility.getUri(context, BookstoreSliceProvider.BOOKSTORE_PATH)
      // 6
      context.contentResolver.notifyChange(uri, null)
    }
  }

  companion object {
    // 7
    const val ACTION_TOGGLE_NOTIFICATION = "com.raywenderlich.bookstore.ACTION_TOGGLE_NOTIFICATION"
    // 8
    fun getToggleNotificationPendingIntent(context: Context): PendingIntent {
      // 9
      val intent = Intent(context, BookstoreSliceBroadcastReceiver::class.java)
      // 10
      intent.action = ACTION_TOGGLE_NOTIFICATION
      // 11
      return PendingIntent.getBroadcast(context, 0, intent, FLAG_UPDATE_CURRENT)
    }
  }
}
Here, you:
- Implement
onReceive()to receive broadcasts. - Get the action of the received broadcast.
- Check if the action is equal to your
ACTION_TOGGLE_NOTIFICATION. - Toggle the notification state.
- Get the URI of the Bookstore Slice.
- Notify the URI to update all of the presented Slices.
- Create an action string constant to use with the toggle notification broadcast.
- Create a method to get a
PendingIntentto toggle the notification. - Create new intent for
BookstoreSliceBroadcastReceiver. - Set the intent action to
ACTION_TOGGLE_NOTIFICATION. - Return a broadcast
PendingIntentwith the intent you just created.
Next, declare BookstoreSliceBroadcastReceiver in the AndroidManifest.xml file as a child of the application element.
<receiver android:name=".BookstoreSliceBroadcastReceiver"/>
Build and run; you will see a screen like this:

Try to enable the notifications by tapping on the notification icon in your Slice; doing so will broadcast the notification toggle action to the BookstoreSliceBroadcastReceiver.
Open the Bookstore app and notice that the notification icon in the floating button is updated, as seen below:
Setting the Accent Color
You can set an accent color to tint all of the tintable items within the ListBuilder such as:
- The icon in the primary action, which will be displayed in the shortcut mode.
- Any icons in your slice.
- Widgets: Switch, SeekBar and ProgressBar.
Add the following line to your ListBuilder before .build():
.setAccentColor(ContextCompat.getColor(context, R.color.colorAccent))
Build and run again. Notice that the notification icon color is changed from the accent color of the Slice Viewer app to the accent color you have set:

Display Modes
Slice viewers can display Slices in three display modes:
You’ve aleady made your Slice compatible with the three modes by adding the following a summary to the Slice header within the apply block. The summary will be shown in the small mode instead of the subtitle.
Note: If you have not set a header to your ListBuilder, the first row added to your ListBuilder is displayed instead.
Build and run in the Slice Viewer app.
Put your Slice in Small mode by tapping on the right-top icon in the Slice Viewer app and select small; you will see a screen like this:

Put your Slice in the Shortcut mode by tapping on the right-top icon in the Slice Viewer app and select shortcut; you will see a screen like this:

And with that, you have finished your Slices tutorial!

Where to Go From Here?
You can download the completed project using the Download Materials button at the top or bottom of this tutorial.
During this tutorial you learned how to:
- Create a Slice for a bookstore app.
- Show the Slice on the surface of the Slice Viewer app.
- Make the Slice interactive by adding a notification icon to let the user enable or disable notification without opening the app.
- Make the Slice compatible with the different display modes.
- Update the Slice with new data.
While you have learned how to incorporate Slices, note that, as of the writing this tutorial, the official Android documentation states: “Slices will start appearing soon for users, but you can start building today.”
You may also find it helpful to learn about RangeBuilder, which you can read about here.
And since Slices are a way to enhance App Actions, you may want to know more about App Actions, which you can learn about here.
Feel free to share your feedback or ask any questions in the comments below or in the forums!